Icons and Color Codes in Artera
- Get Started
- Release Notes
- Triggers
- Patient Channel
- Troubleshooting and FAQ
- Patient Facesheet
- Technical Specifications
- Insights & Analytics
- Inbox
- Conversation Flows
- Campaigns
- Lines & Resources Requests
- Lines, Events, Resources
- SMS Basics
- Automations
- Referrals
- AI Agents
- Add-Ons
- Users and Groups
- Platform Settings and Configuration
- Self-Rescheduling
- Recalls
- Marketplace
- Artera Harmony Federal Edition
Table of Contents
Navigation BarHomepage Inbox ScheduledCampaignsPatientsInsightsHelpSettingsUser ProfilePatient Channel StatusesManual Messaging ToolsPatient Verification IconsAutomation Characters and SourcesSMS CharactersThis article provides an index of the various icons and color codes used throughout Artera as indicators.
Navigation Bar
The navigation bar is on the left-hand side of the platform. Each of the tabs in the bar links to a new view in Artera.

Homepage
The Homepage serves as a user’s command center, designed to boost staff efficiency and enhance the patient experience by utilizing your Artera data to identify opportunities for improvement. It offers key insights that help users stay on top of unresolved messages, prioritize critical conversations, and optimize performance. Click here to learn about the Homepage.
 |
 |
Inbox
The Inbox serves as the primary workspace for Artera users. It offers a centralized view of all Patient Channels, across every Practice a user has access to. This Enterprise-centric design streamlines the process of accessing patient communications, providing a comprehensive overview of all interactions between Artera and the patient. The Inbox offers two views, the "All Messages" and the "Scheduled" views, to help you manage patient communications effectively.

Scheduled
The "Scheduled" view within the Inbox provides a chronological list of appointments for a selected date. Click here to learn more.
 |
 |
Appointment Status Color Coding
Appointments in this view will be color-coded based on the patient's appointment status:
 |
Yellow: Unconfirmed – The patient has not confirmed their appointment. This status may require follow-up. |
 |
Green: Confirmed – The patient has confirmed their appointment. |
 |
Red: Canceled – The patient has requested to cancel their appointment. |
| There are additional statuses that you may see, however, these are tied to less common configurations and may not appear in your Practice at all. Yellow means a patient has requested their appointment to be rescheduled and blue indicates that a patient has viewed their appointment details via the {eventConfirmLink} Smart Phrase, but has not taken action. | |
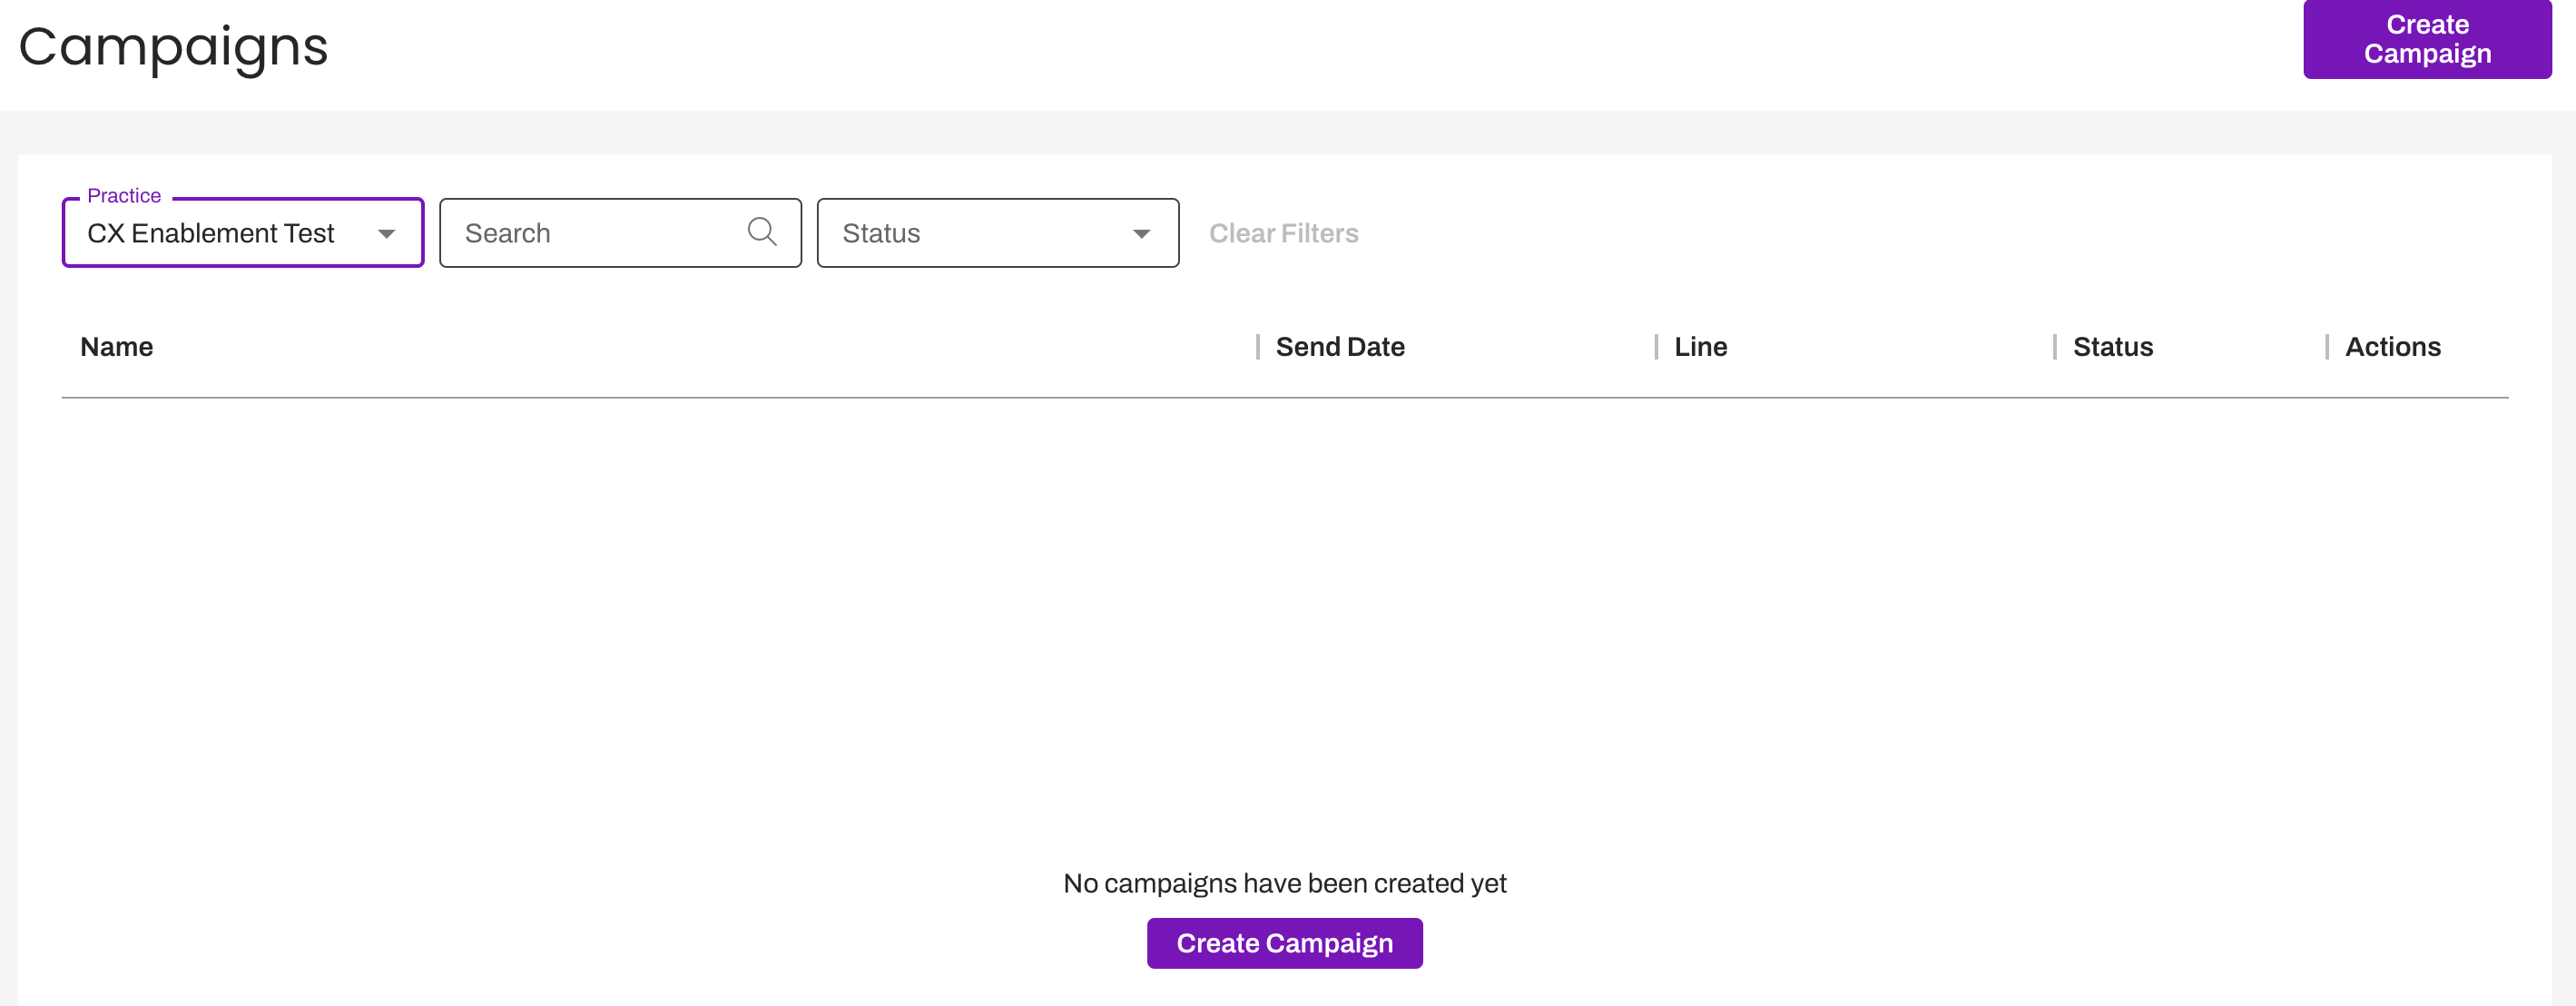
Campaigns
Select Campaigns to be directed to your Practice's Campaigns page. Click here to learn more.
 |
 |
Automations
Automations include Conversation Flows and Triggers.
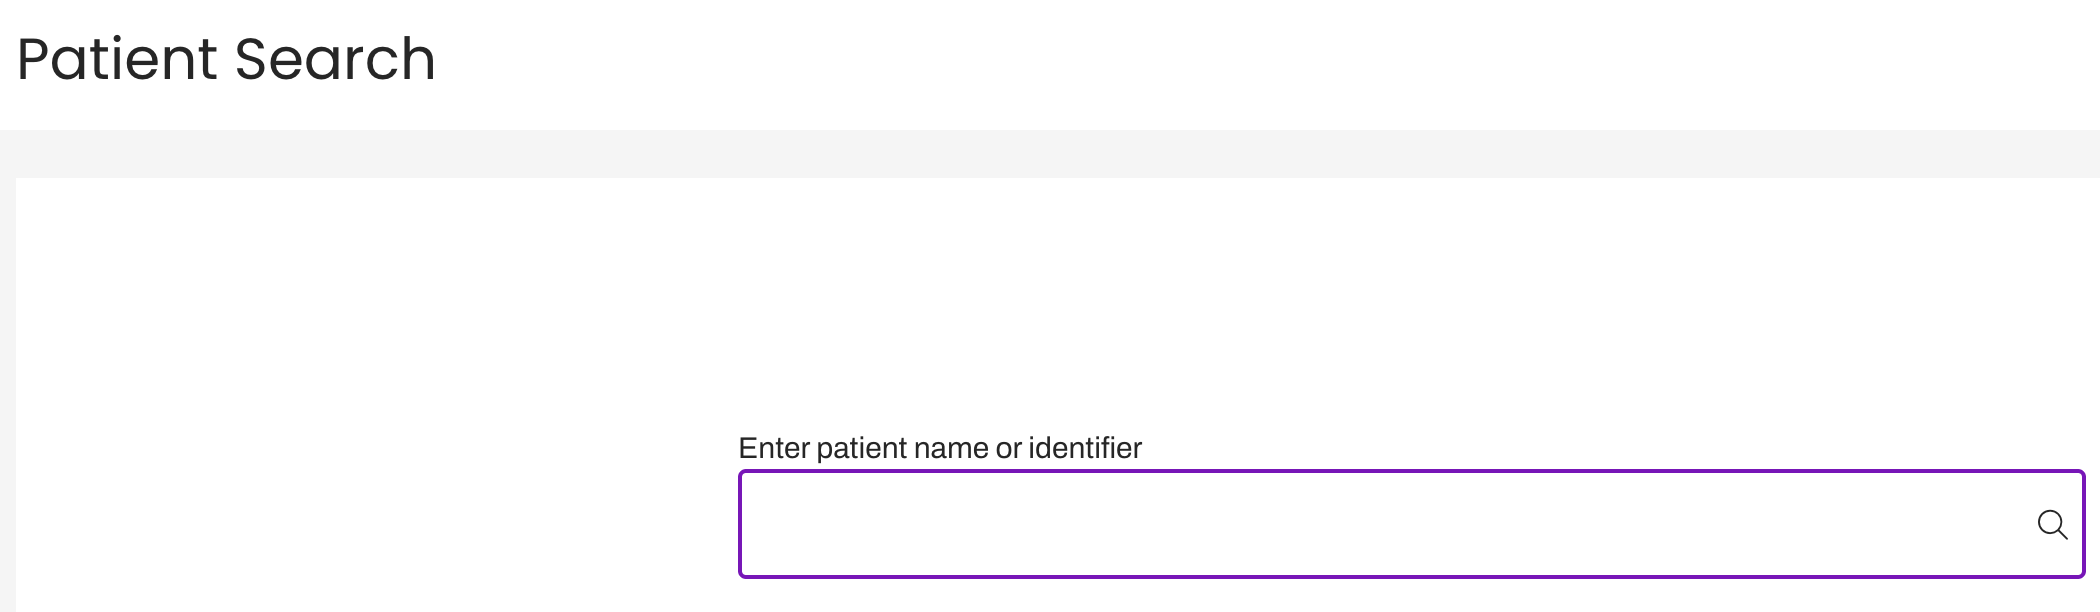
 Patients
The Patients Area provides visibility into patient communication history and communication preferences, allowing users to quickly troubleshoot issues and providing valuable insights into how to optimize an organization’s patient messaging strategy.
Click here to learn more.
 |
 |
Insights
Select Insights to access your Artera analytics from within the platform. Click here to learn more about the available reporting in Artera.

Help
The Help option displayed on the lower half of the navigation bar links to Artera's Customer Resource Center. This site includes training guides, Knowledge Base articles, and our support case submission form. Help also allows users to link out to the Knowledge Base or Artera Academy.

Settings
Settings contains configuration options for Artera. Depending on your access level, you can access both Practice and Enterprise Settings here. Learn more about available settings.

User Profile
Select your profile to determine which Artera Enterprise and environment you are logged into, who you are logged in as, and logout of Artera.

Manual Messaging Tools
While in the Patient Channel, you will see icons below the text box to send a Manual Message. These are all tools that can be used to enhance messages to patients. Click here to learn more about Manual Messaging.
Secure/Unsecure
Selecting the lock icon will toggle between a Secure and Unsecured message. A closed lock indicates that the message is secure, while an open lock indicates the message is unsecured. Users can also insert two exclamation marks, "!!," before their message to switch the message from secure to unsecured.
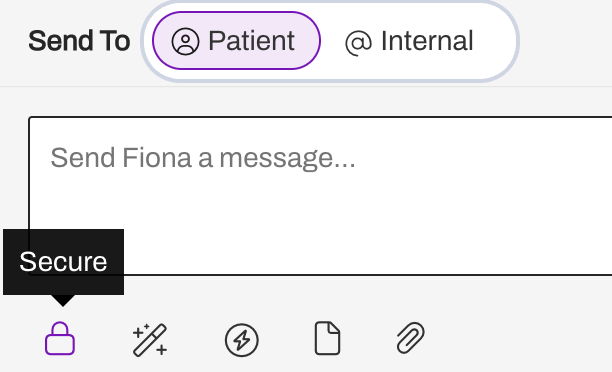
A secure message requires a patient to login to the Secure Messaging Portal view the message. This ensures that PHI and other sensitive information is protected. By default, all messages sent in Artera are secure. An unsecured message will appear as a plain text message to the patient.
Smart Phrases

Quick Responses

Attach Form
The document icon allows a user to attach a Form to a message. Forms are created by Artera and are typically used for Satisfaction Surveys and other basic information collection. Existing Forms can be viewed under Practice Settings.
Connect with your Customer Success Representative if interested in using Patient Satisfaction Forms. Learn more here.

Attach File
The paper clip icon allows users to attach a file to a message. Files over 600KB will need to be sent in a Secure Message format. Learn more about sending Rich Media Attachments.

Staff AI Co-Pilot
NOTE: Staff AI Co-Pilot is a Harmony solution and this feature is only available to Harmony customers.
Use the AI button to create engaging messages to patients, translate messages, and improve overall communication efficiency.
 Click here to learn more about Staff AI Co-Pilot.
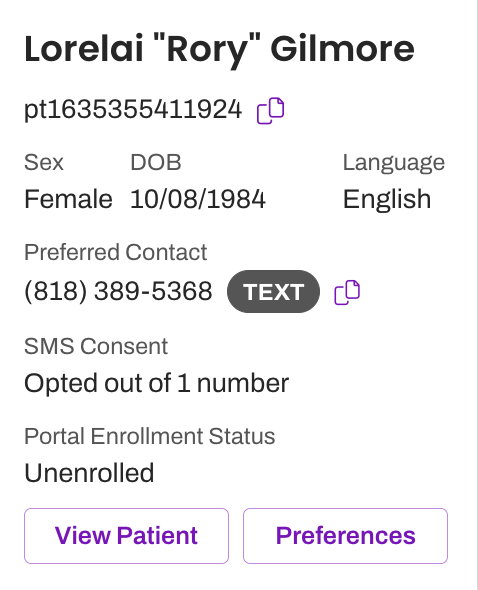
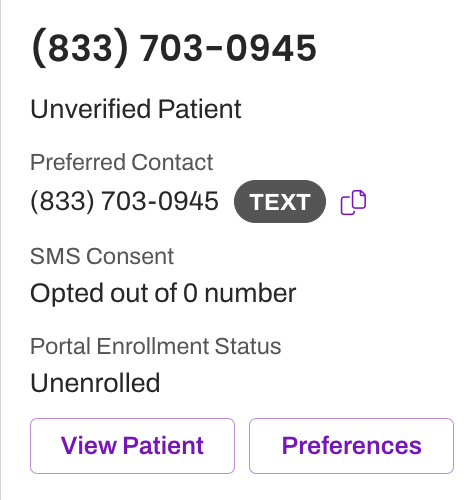
Patient Verification Icons
Within Artera, there are Verified and Unverified patients. There are a few limitations that exist with Unverified patients, which you can learn about here.

How does a patient get verified?
There are a few ways that verified patients enter into your Artera Practice:
During implementation, the patient was part of a Future Appointment Upload to Artera as part of the go-live process.
After go-live, an appointment is scheduled for the patient in the EMR and then sent to Artera through the HL7 interface.
Automation Characters and Sources
In both Practice and Default Automations, you will see icons displayed for each Automation that indicate the number of characters in a message and available methods to send them.
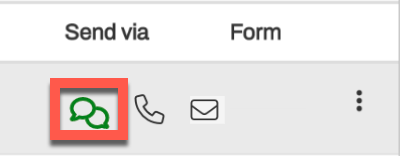
Available Message Sources
When creating an Automation, you can enter messages for text, phone, and email contact methods.
- If you include text for an sms version of your Automation message, a message icon will be listed under the Send Via column.
 If you include a script for a phone call version of your Automation, a phone icon will be listed under the Send Via column.
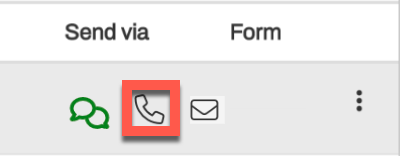
-
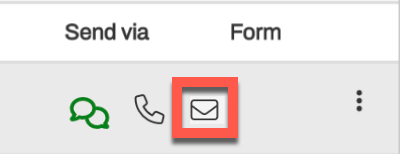
If you include text for an email version of your Automation message, an envelope icon will be listed under the Send Via column.
SMS Characters
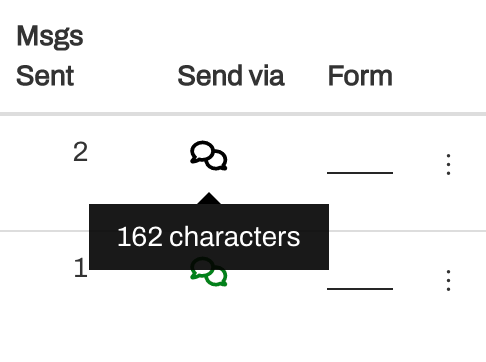
The color of the message icon indicates the number of characters in your SMS message for the Automation. This icon can appear in two different colors.
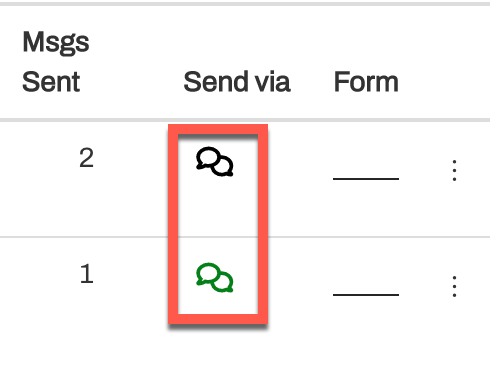
- A green icon indicates that the message does not exceed 160 characters. This is the ideal status for an automated message. Messages that are below the standard limit of 160 characters have a higher rate of successful deliveries to patients.
-
A black icon indicates that the message exceeds 160 characters. Messages over 160 characters are sent as a concatenated message, packets of 160 character texts that are delivered together. Learn more about concatenated messages here.
- Important: A message exceeds that exceeds 320 characters has a greater chance of being undelivered to a patient and likely contains too much content for an automated message. It is highly recommended to reduce the text volume if the icon is red.
Regardless of color, all message bubble icons display the number of characters in the message when hovered over with your mouse: