Phone Lines
- Get Started
- Release Notes
- Triggers
- Patient Channel
- Troubleshooting and FAQ
- Patient Facesheet
- Technical Specifications
- Insights & Analytics
- Inbox
- Conversation Flows
- Campaigns
- Lines & Resources Requests
- Lines, Events, Resources
- SMS Basics
- Automations
- Referrals
- AI Agents
- Add-Ons
- Users and Groups
- Platform Settings and Configuration
- Self-Rescheduling
- Recalls
- Marketplace
- Artera Harmony Federal Edition
Table of Contents
Line Settings OverviewAdd New LineEdit an Existing LineEdit Line ProcessAdding Line Specific HolidaysExcluding a Line from a Practice or Enterprise HolidayLine Holidays and AutomationsAssociating Staff Users to LinesUpdate a Line NumberDeactivated LinesPhone lines are text-enabled phone numbers that Practices use to message patients. Each Practice contains one or more lines.
Line Settings Overview
You can customize the following items for each phone line.
- Line Display Name: The name associated with the phone number. This name populates the {lineName} Smart Phrase.
- Outbound Settings: The phone number that patients see associated with messages.
- Associated Resources: Allocate specific Resources (Locations, Providers, Device, or General) to lines to best fit your needs. Most customers associate lines with Locations.
- Line Hours: Establish business hours for the specific line if the line hours will be different from the Practice Hours.
- After-Hours Auto-Response: Add a response for the patients who message in outside of business hours. The After-Hours Auto-Response will only send if the inbound message from the patient is greater than 30 characters.
Line Hours and After-Hours Auto-Responses will override the Practice Hours and Practice Settings, meaning different lines within the same Practice can have distinct hours and After-Hours Auto-Responses.
NOTE: This only applies for Inbound Keyword Automations, which are triggered by inbound messages from patients. Also, Line Hours will not override Practice Hours for Campaigns as Line Hours do not apply to Campaigns. Click here to learn more.
Add New Line
Adding a new line takes approximately two weeks. When submitting a newLine Request, you can have Artera purchase a new number for you (at no additional cost), or text-enable a landline that you already own. Please follow these instructions to get started.
Edit an Existing Line
There are a few reasons you may need to edit a line. Common edits include:
- Adding a new Resource (Locations/Provider)
- Updating Line Name
- Updating Line Hours
- Updating After-Hours Responses
Edit Line Process
Let's review how to edit a line:
-
In your Artera Production environment, select the correct Practice.
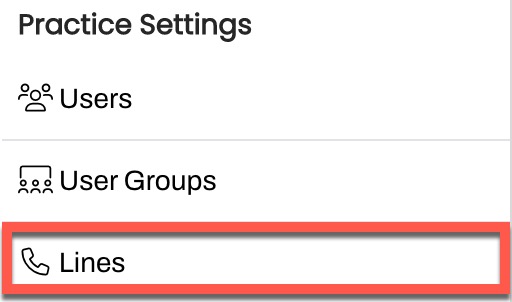
- Navigate to Settings > Practice Settings > Lines.
- Use the (...) menu to select Edit Line.

- [Optional] You can update the Line Display Name, if needed.

- Use the Resources drop-down to update the Location(s) that will send messages from this Line. Note: Some organizations choose to associate other Resources like Providers, Devices, or General Resources to Lines instead of Locations, choose the appropriate resource type based on your setup.

-
[Optional] To set unique Line Hours, click Set Your Hours. This will override the Practice Hours set in your Practice Settings. NOTE: Line Hours will not override Practice Hours for Campaigns as Line Hours do not apply to Campaigns. Click here to learn more.

-
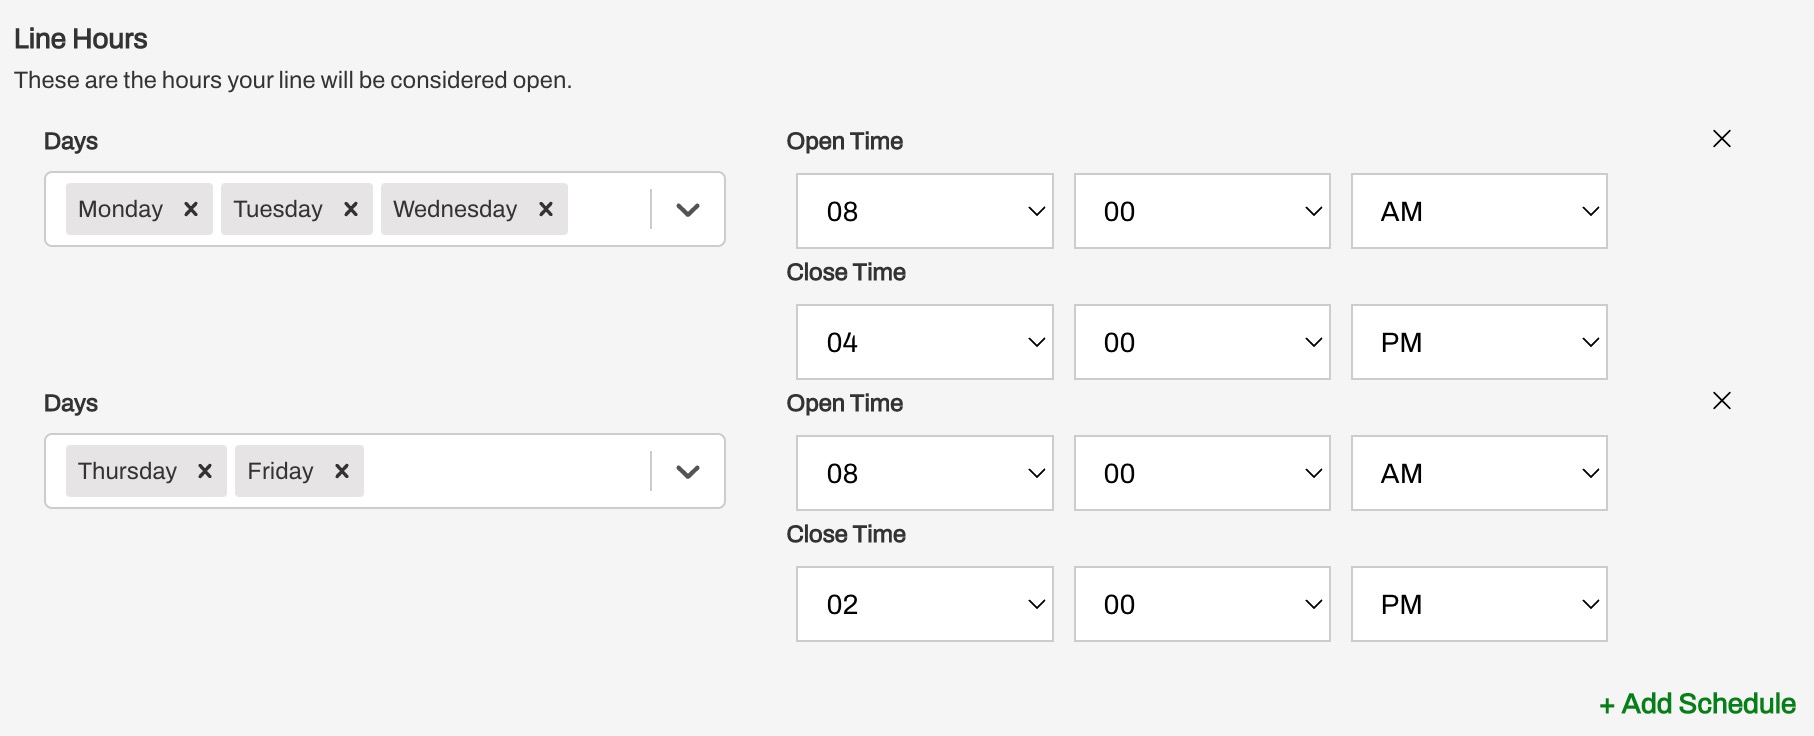
Use the Days drop-down to select all the days that have the same hours (these do not need to be in order), then set the Open and Close Time.

- Important: You cannot have more than one schedule per day. For example: If you set hours for M-W 8:00 am-12:00 pm and M-F 1:00 pm-5:00 pm, your After-Hours Auto-Response would always send after 12:00pm M-F.
-
Use the + Add Schedule link to include additional daily hours.
-
Use the Days drop-down to select all the days that have the same hours (these do not need to be in order), then set the Open and Close Time.
-
[Optional] To set a custom After-Hours Auto-Response, click Set After Hours Response. This will override the After-Hours Auto-Response set in your Practice Settings. NOTE: To set an After-Hours Auto-Response, Practice Hours must first be configured.

-
Enter the desired message. Use the + Add Translation link to include additional translations, if necessary. Leverage the the Smart Phrase wand to include Smart Phrases, as needed.

-
Enter the desired message. Use the + Add Translation link to include additional translations, if necessary. Leverage the the Smart Phrase wand to include Smart Phrases, as needed.
Adding Line-Specific Holidays
If the line follows different Holiday Hours than the Practice or Enterprise, you can establish line-specific Holidays.
- In your Artera Production environment, select the correct Practice.
-
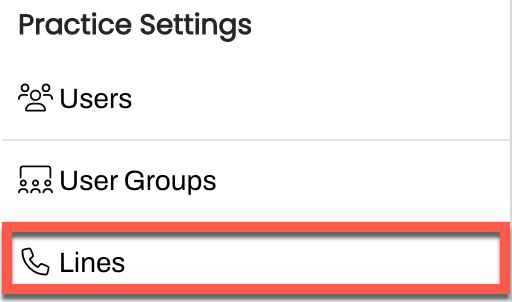
Navigate to Settings > Practice Settings > Lines.
-
Use the (...) menu to select Manage Holiday Hours.

-
The Line Holiday Management Page displays all existing Holiday Hours in chronological order for the Line, Practice, and Enterprise. This helps prevent creating duplicate Holidays.

- Click + Add New Holiday.
-
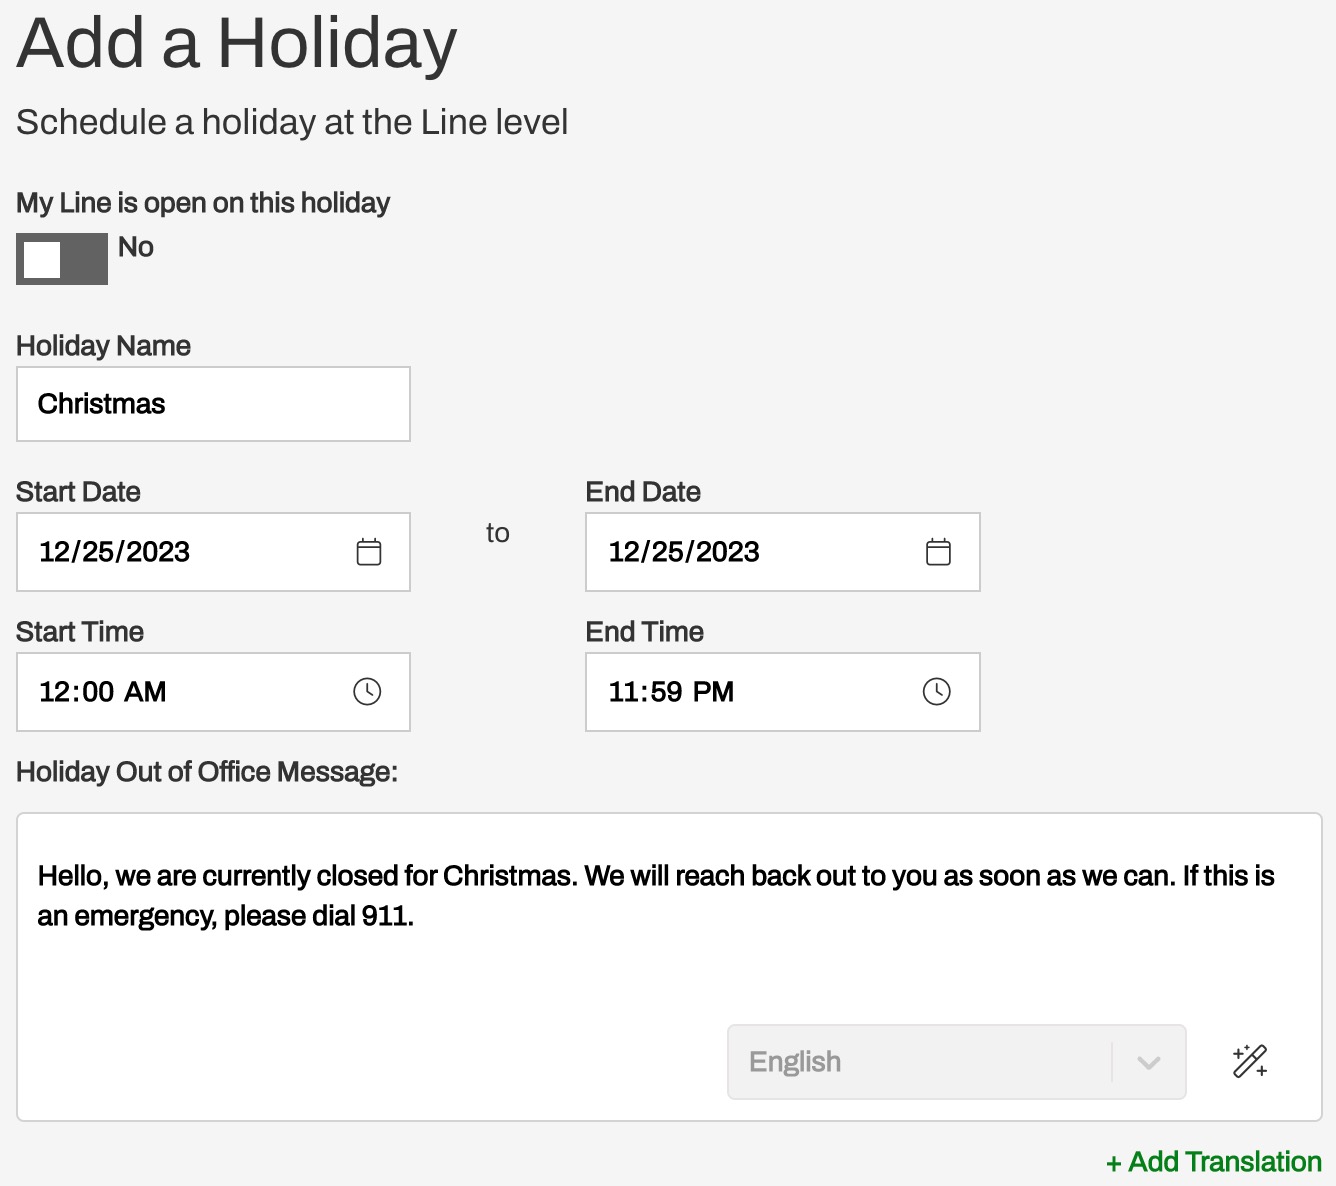
Complete the Holiday Name, Start and End Date, Start and End Time, and the Holiday Out of Office Message. Add Translations, as necessary.
-
Indicate if this is a Recurring holiday. This could be helpful for holidays that occur on the same date each year (like 12/25). Click Save.

Excluding a Line from a Practice or Enterprise Holiday
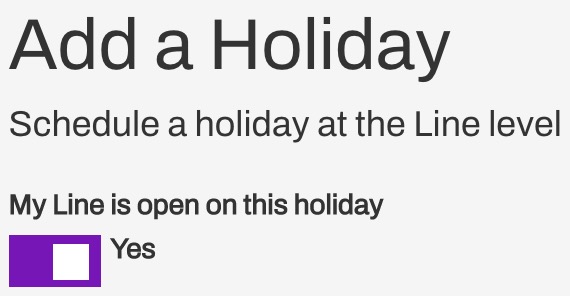
If there is a holiday set at the Practice or Enterprise that your specific line will not follow, you can create a Holiday using the steps above and indicate that your Line is open using the My Line is open on this holiday toggle. This will override the Holiday specifically for that Line.
Line Holidays and Automations
Unlike the impact that Practice and Enterprise Holiday Hours have on Automations, Line Holiday Hours do not automatically reschedule Automations. If a patient is scheduled to receive an automated message on a Line-scheduled holiday, it will be sent to them. To prevent Automations from being sent on Holidays, schedule them at the Practice or Enterprise. Click here to learn more.
Associating Staff Users to Lines
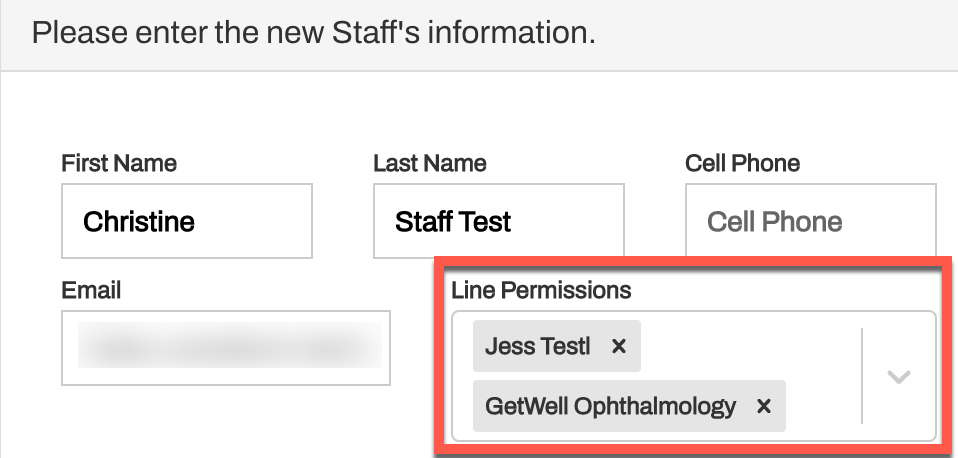
For Practices with multiple Lines, you can assign specific Lines to individual Staff users. This allows the user to only send messages from this Phone Line. Click here to learn how.
Update a Line Number
To update an outbound number that has already been enabled, please submit a case to Customer Support requesting the change. Please note that Lines cannot be deleted once they are added to an Artera Practice. However, they can be deactivated by being reverted to a pending status.
Deactivated Lines
Lines that have not been used to send messages or phone calls in the last three months will be deactivated by Artera. To reactivate a deactivated text-enabled landline, please submit a Lines & Resources Request to the Artera Support team. If a purchased line is deactivated, Artera can attempt to reactivate it but cannot guarantee that we can procure the same number.