Updating Automations After Adding New Lines and Resources
- Get Started
- Release Notes
- Triggers
- Patient Channel
- Troubleshooting and FAQ
- Patient Facesheet
- Technical Specifications
- Insights & Analytics
- Inbox
- Conversation Flows
- Campaigns
- Lines & Resources Requests
- Lines, Events, Resources
- SMS Basics
- Automations
- Referrals
- AI Agents
- Add-Ons
- Users and Groups
- Platform Settings and Configuration
- Self-Rescheduling
- Recalls
- Marketplace
- Artera Harmony Federal Edition
Table of Contents
Verify that Any New Resources Display in the PracticeUpdating AutomationsAdd Resources to Phone Line(s)Inbound Message AutomationsIt is important to review your current Automation configuration to determine if updates are required based on any newly added Lines and Resources to your Artera Enterprise. This may include updating your current Automation filters and Lines or creating new Automations altogether.
In general, you should:
- Confirm that your Events and Resources display, as desired.
-
Appointment and Recall Automations: Update your Automation filters to include new Resources or Events, as needed.
- If you are creating new Automations, enable the new Automations at the right time to avoid patients receiving duplicate reminders from any legacy reminder system.
- Phone Line: Add the associated Locations or Providers to the correct Phone Line.
- Inbound Message Automations: Add the new Phone Lines to any Inbound Message Automations you want the Phone Line to use.
Verify that Any New Resources Display in the Practice
Confirm that Resources (Providers, Locations, Devices, and General) for the Location you have added appear in the Practice. Note: If there have not been appointments booked at the new Location(s), they will not display in Artera. Ensure you have appointments booked in your EMR before verifying your Resources in Artera.
- In your Artera Production environment, select the Practice containing the new Location.
-
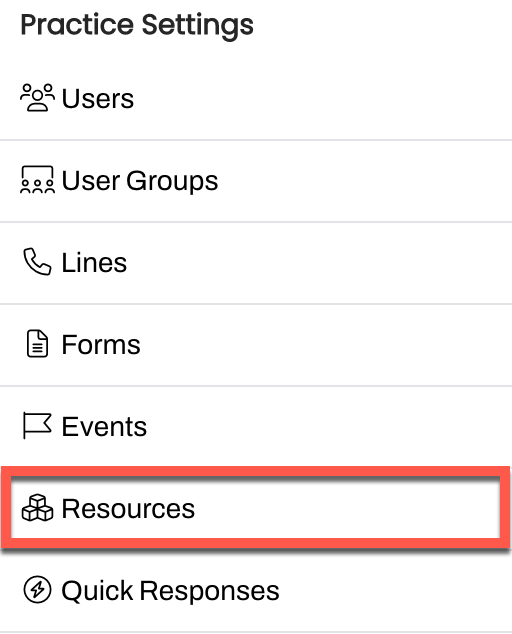
Navigate to Settings > Practice Settings > Resources.
-
Review the list of Providers and Locations to ensure they are correct.
-
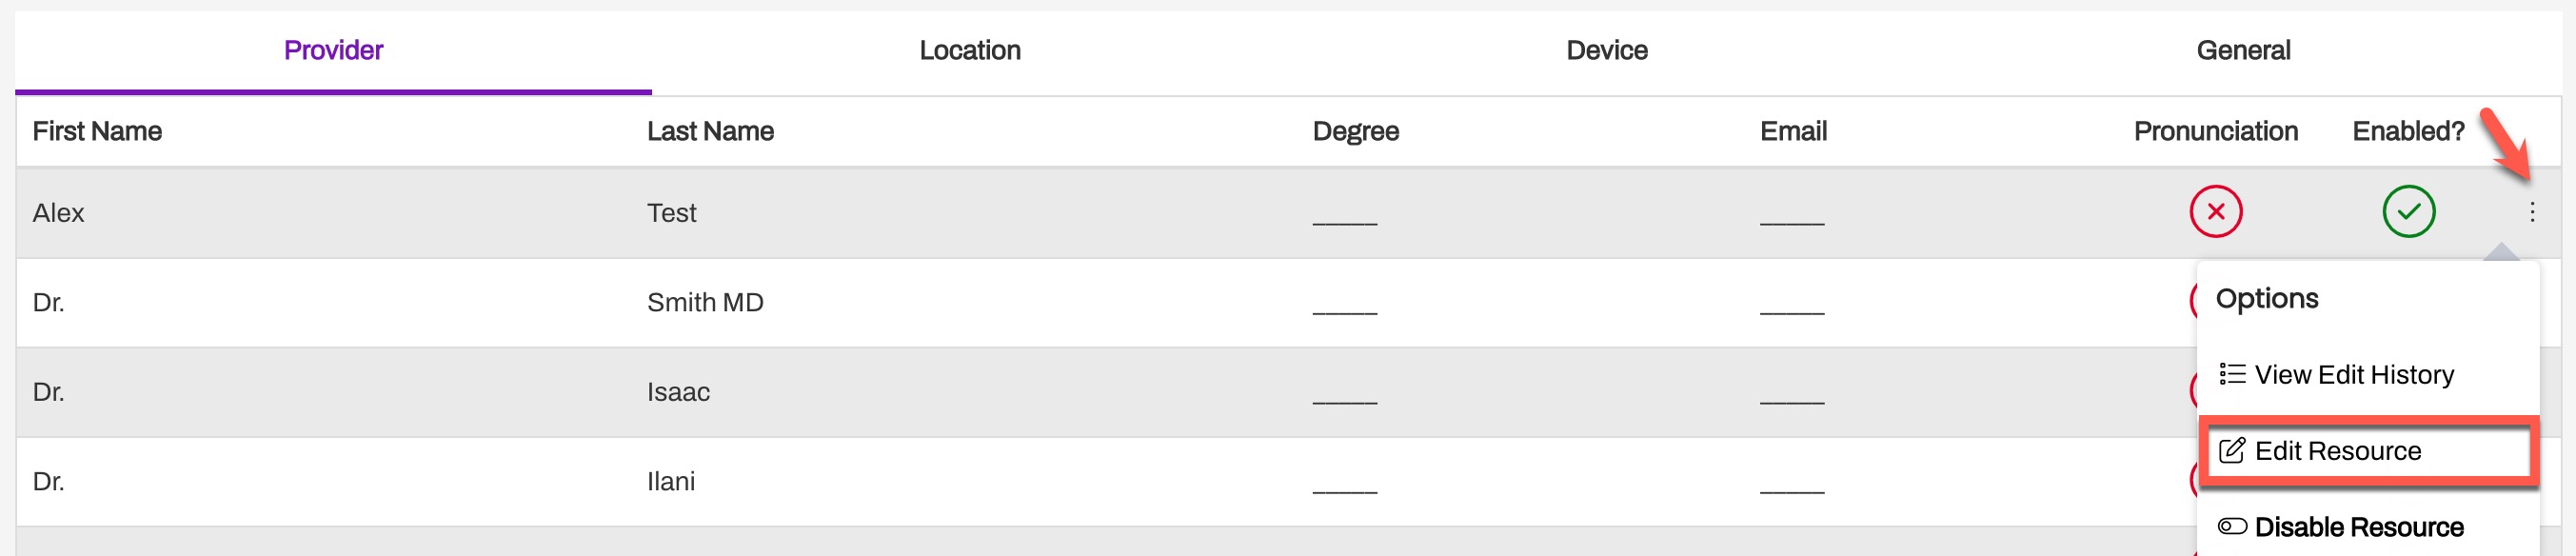
Display Name: To customize how the Provider/Location name is referenced within Artera and the {eventProviderName} or {eventLocationName} Smart Phrase, use the (...) menu to select Edit Resource. This will only impact the name in Artera, your EMR data will not be changed.
-
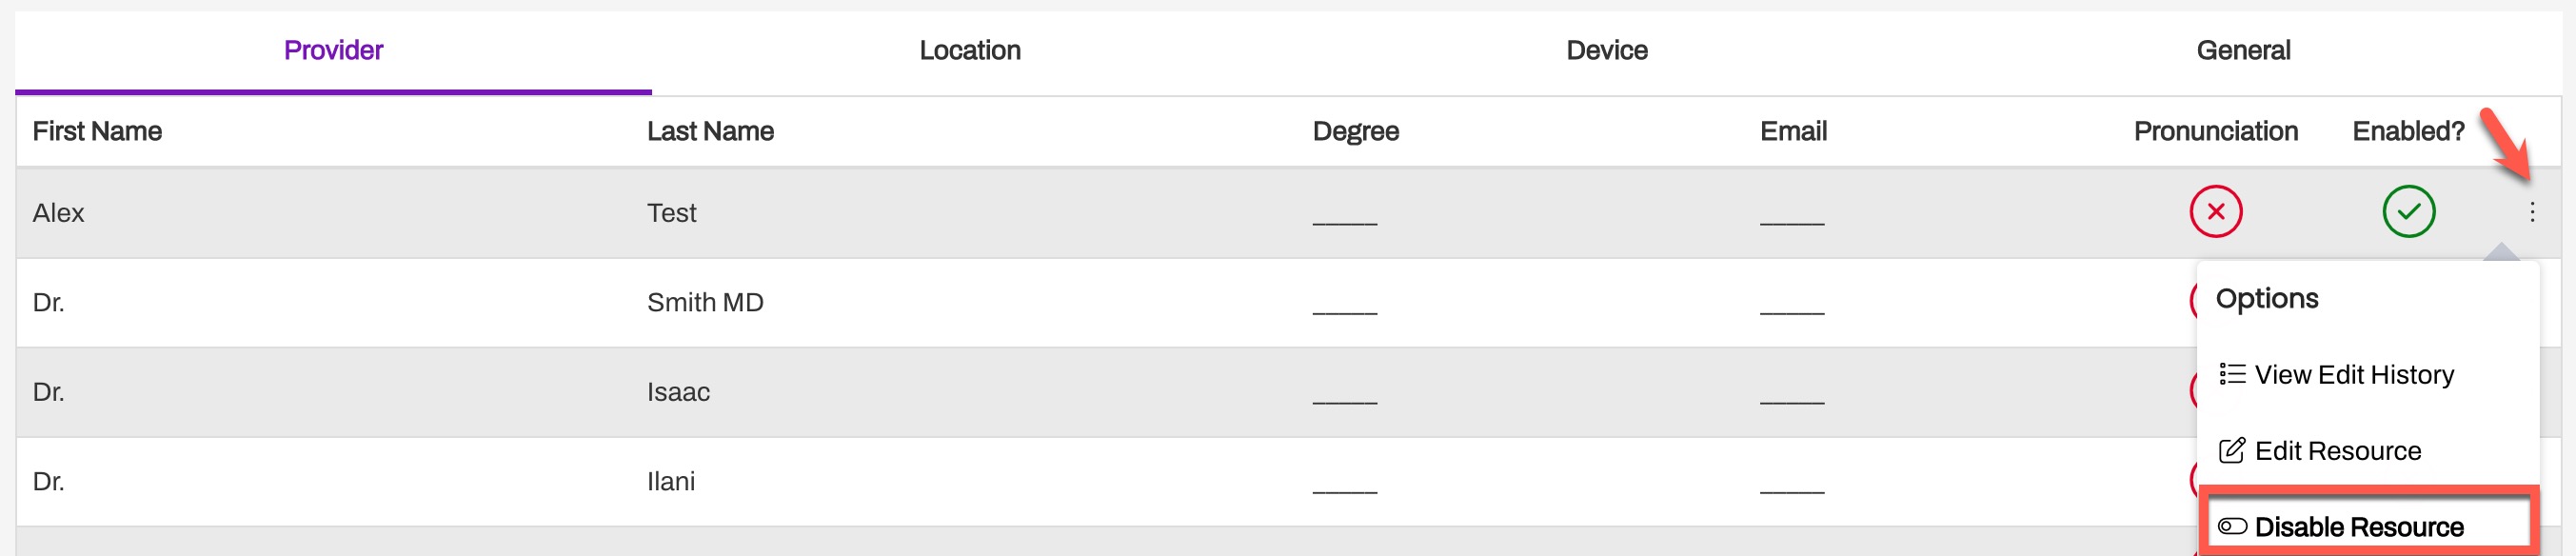
Disable Resource: To prevent Automations from sending for a specific Resource, use the (...) menu to select Disable Resource.
-
Display Name: To customize how the Provider/Location name is referenced within Artera and the {eventProviderName} or {eventLocationName} Smart Phrase, use the (...) menu to select Edit Resource. This will only impact the name in Artera, your EMR data will not be changed.
Updating Automations
It is important to review your current Automation configuration to determine if updates are required based on the newly added Locations, Resources, and Events. This may include updating your current Automation filters or creating new Automations for the new Resources or Events.
If your current Automations do not use Resource or Event Filters, then no further action is needed to maintain your existing configuration.
If you are creating new Automations, enable the new Automations at the right time to avoid patients receiving duplicate reminders from any legacy reminder system.
Practice Automations
-
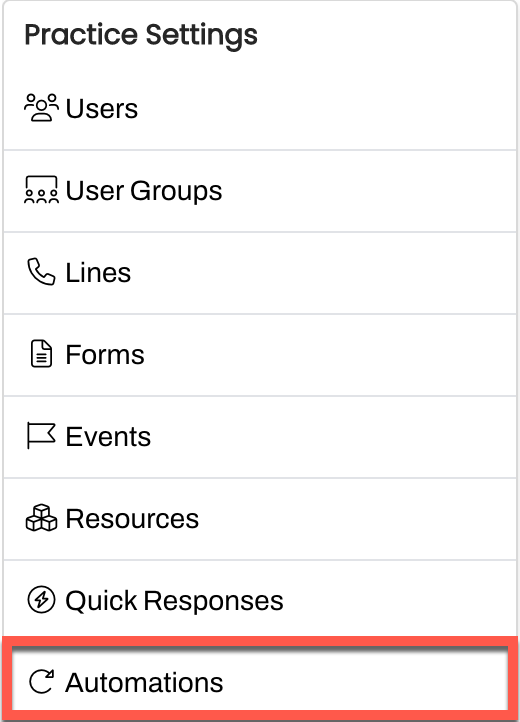
Navigate to Settings > Practice Settings > Automations.
-
Automation setup:
- Update Existing Automations: Review the running Automations and determine if the new Phone Line needs to be added and/or filtering needs to be updated.
-
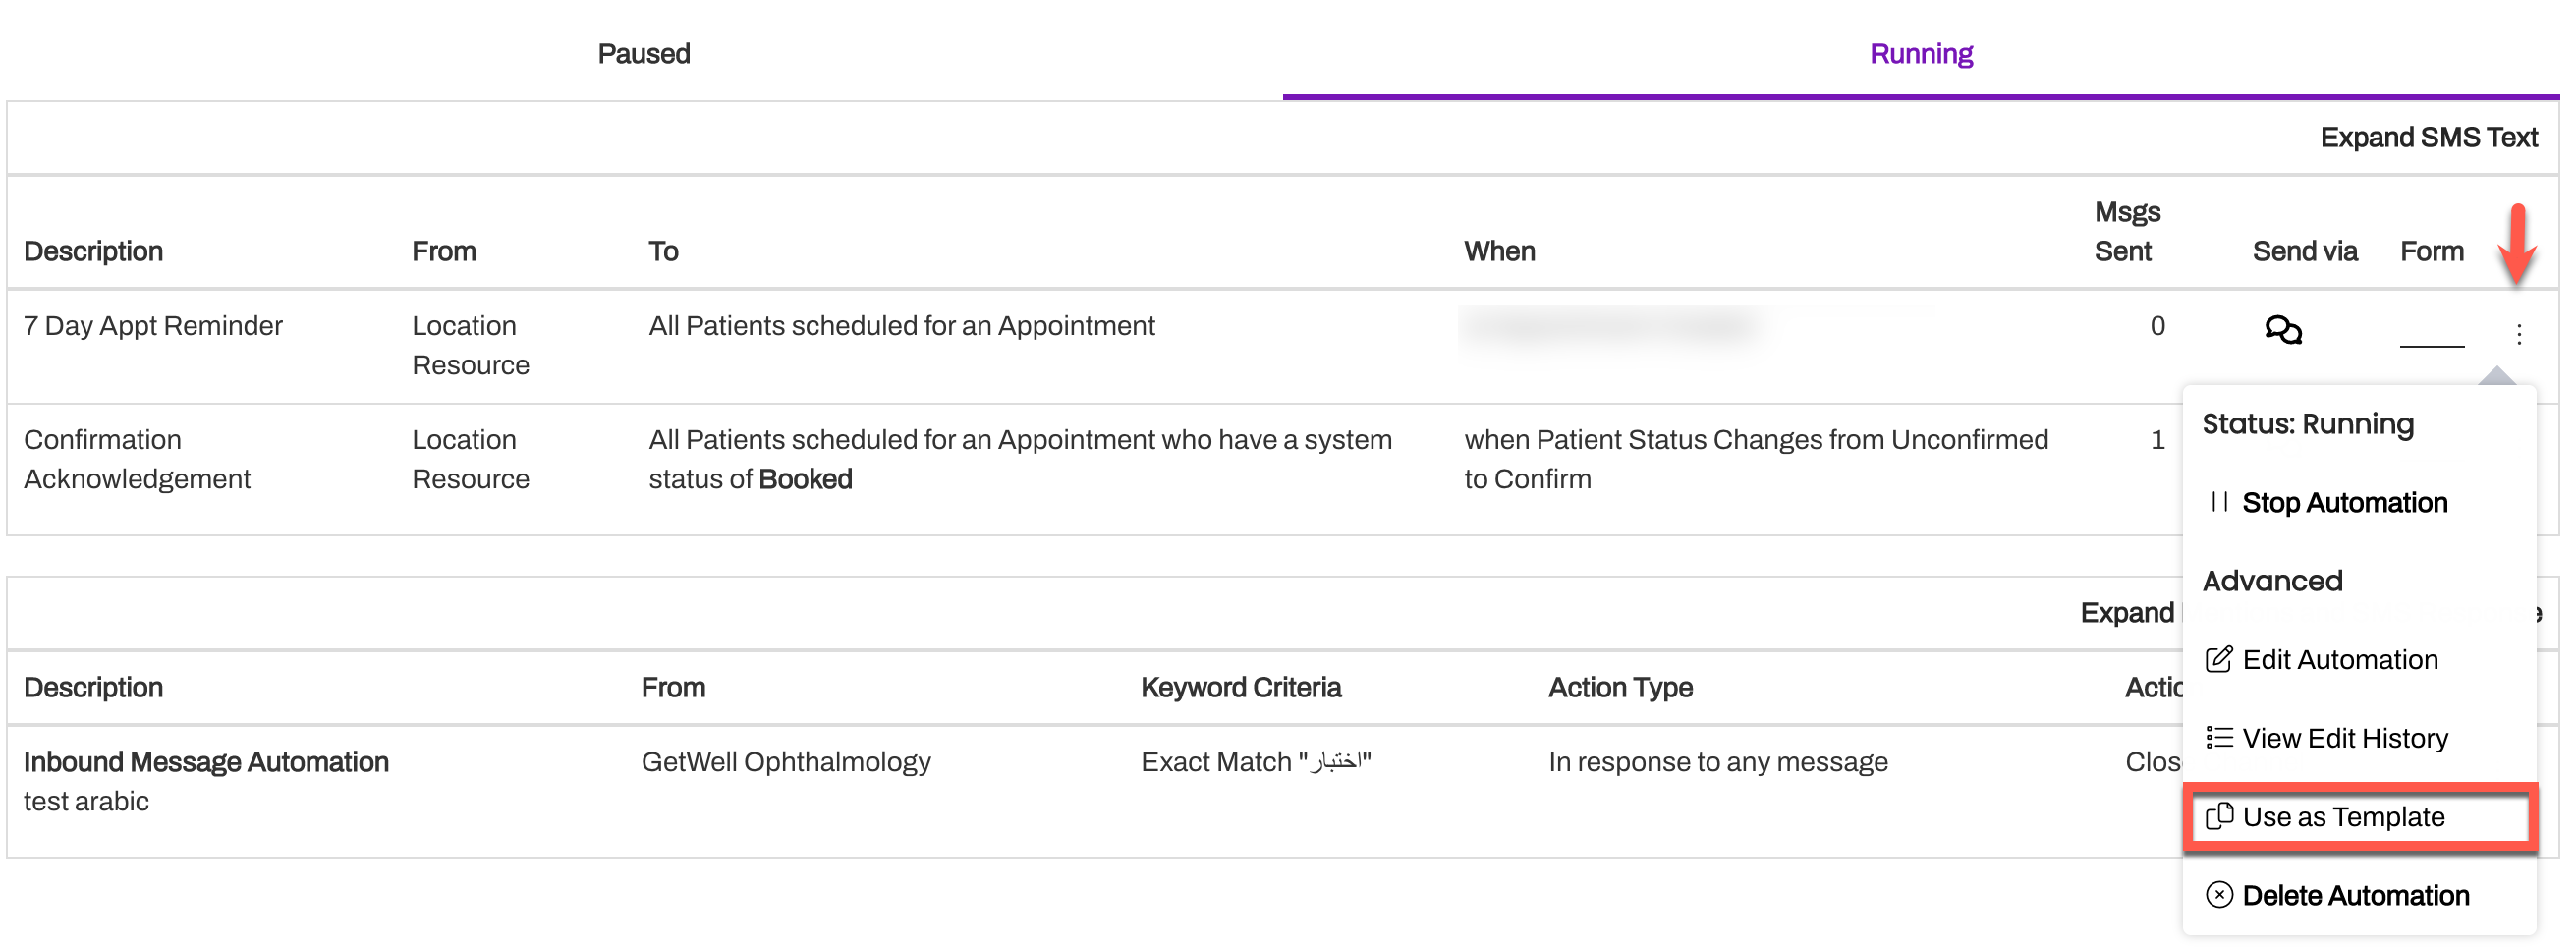
Create Unique Automations: If the Location is going to use unique Automations, you can either Create an Automation or copy an existing Automation using the (...) menu to select Use as Template. These Automations will only be available for use within this specific Practice.
- Click Update when done.
-
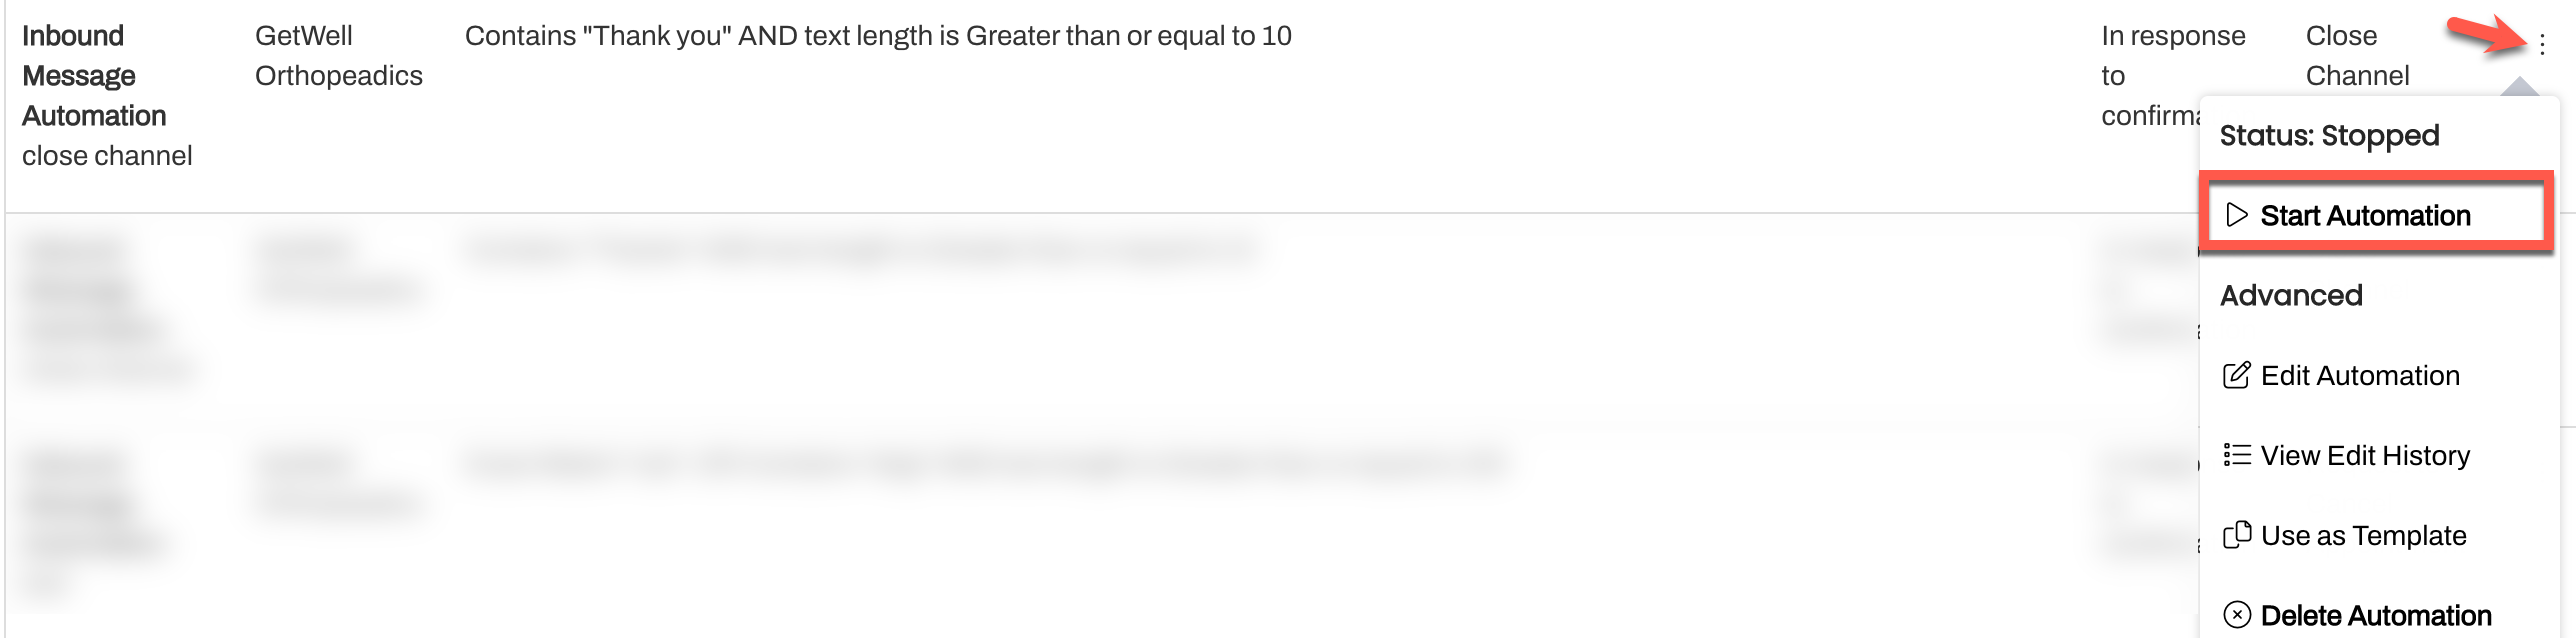
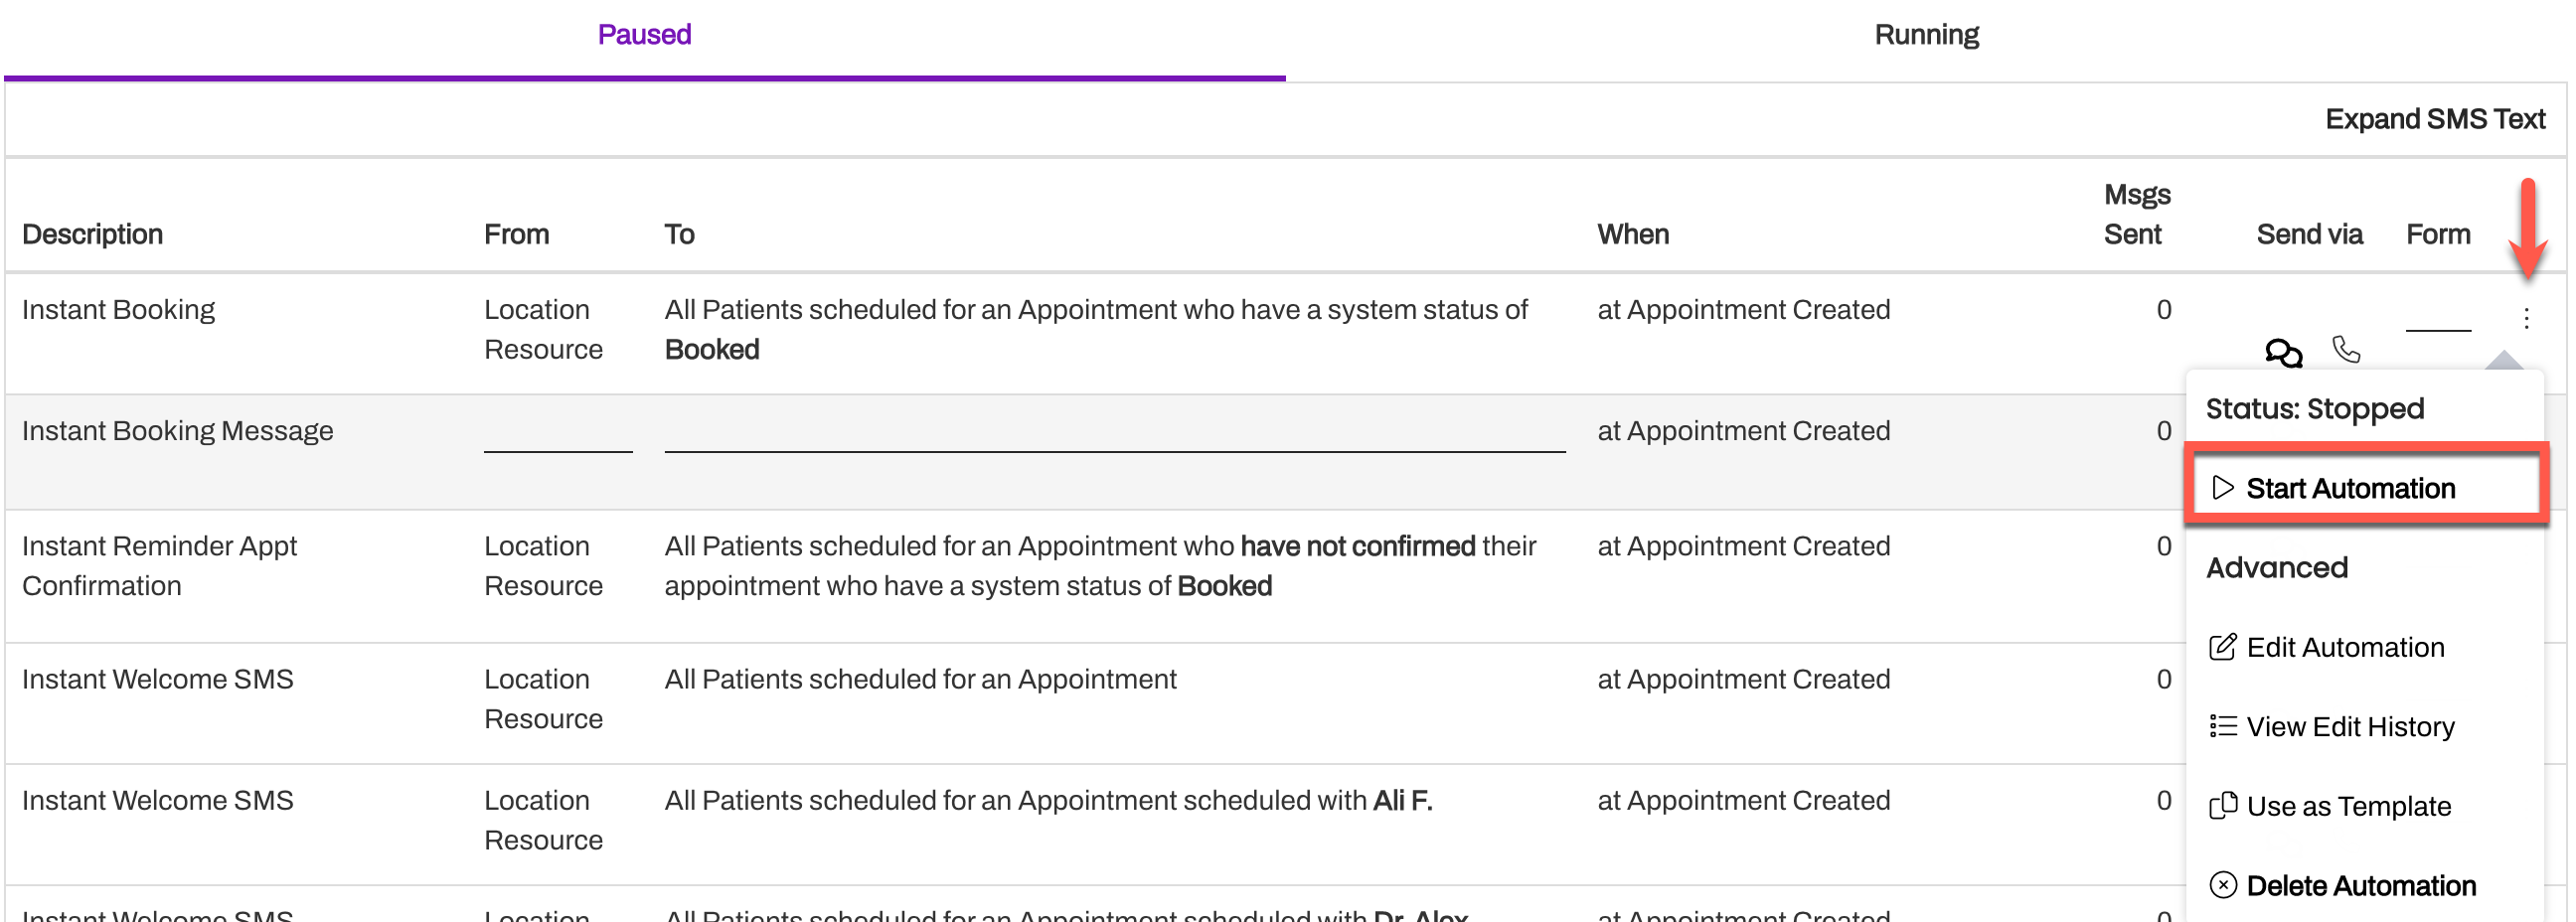
Automations that are edited will automatically be paused and moved to the Paused status. Locate the Automation and use its (...) menu to select Start Automation. If you do not restart the Automation, the Automation will not be sent.
Add Resources to Phone Line(s)
Ensure each Phone Line has at least one associated Resource. It is important to review your Automations prior to adding Resources to the Phone Lines. As soon as Resources are added to a text-enabled line, messages will begin being sent based on Practice Automation configuration.
Navigate to Settings > Practice Settings > Lines.
Use the (...) menu to select Edit Line.

Use the Resources drop-down to add the Location(s) that will send messages from this Phone Line. Note: Some customers choose to associate Providers to Phone Lines instead of Locations, so be sure to select the appropriate Resource type based on your setup.

Inbound Message Automations
For new Practices, you will need to follow the steps outlined here for enabling Default Automations for your Practice or creating Practice-specific Inbound Automations.
Update Practice Automation
To update an existing Practice Inbound Message Automation to include a newly added Phone Line, use the following instructions:
Navigate to Practice Settings and select Automations.
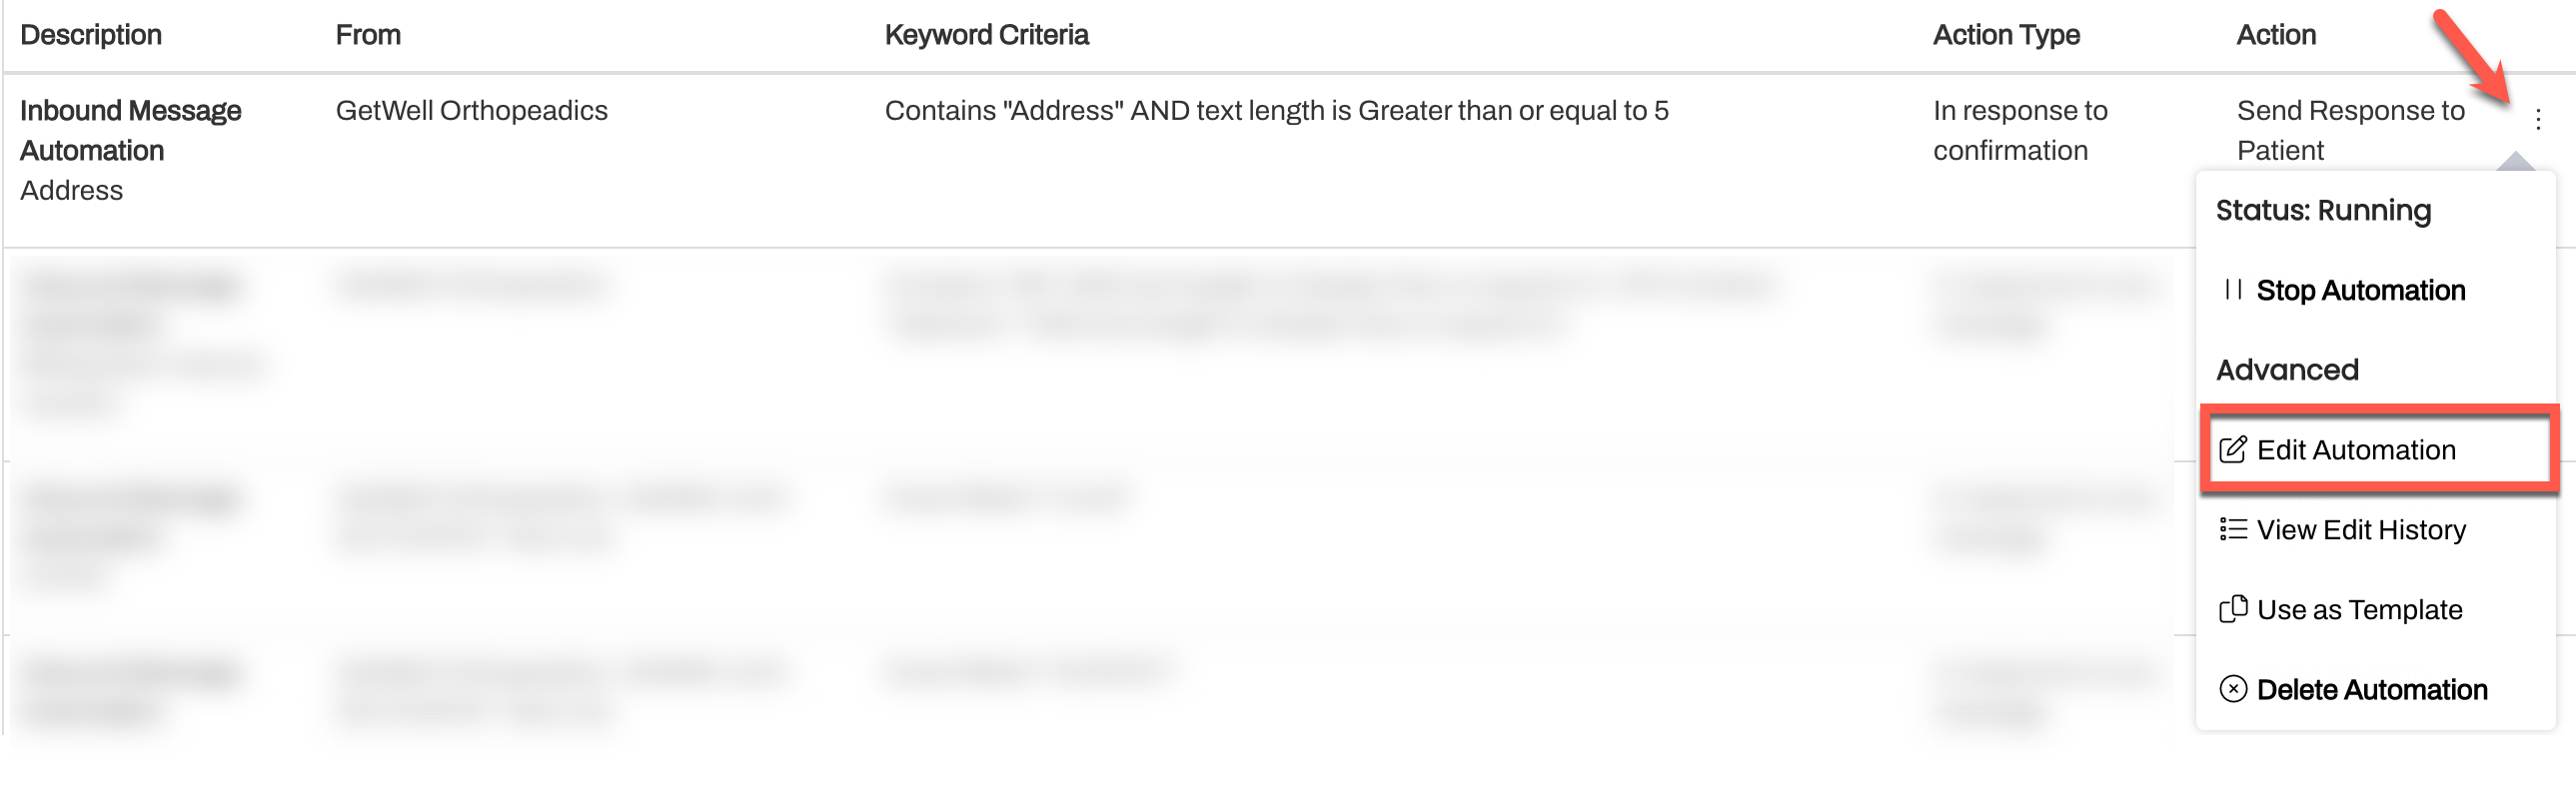
Scroll to the Inbound Message Automation section and locate the Automation you want to edit.
Use the (...) menu to select Edit Automation.
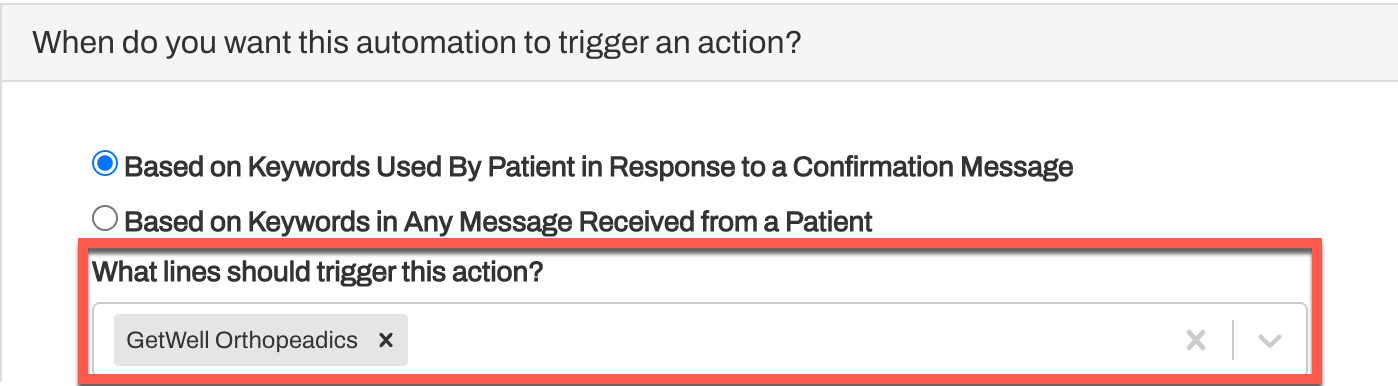
From the When do you want this automation to trigger an action? section, use the drop-down to select the new Phone Line(s).
Click Update.
The Automation will automatically be Paused. Navigate to the Paused tab and use the (...) menu to select Start Automation to re-enable the Automation.